
 ENG
ENGTest Devices
Test Devices open up additional Tapjoy features when you are developing your application. Devices registered as ‘Test Devices’ can view content cards set to "only for test devices". This lets you test specific content units without showing them to all users. Test Devices will automatically turn on Tapjoy Debug Logging for themselves after the SDK connects to the server.
Setting up test devices involves finding the advertising ID on the device and adding that ID to the Tapjoy Dashboard "App Settings/Test device” panel. For Web Offerwall, you need to create your own UUID to use as your test device ID.
1. Registering your test device on the Tapjoy Dashboard
Once you have obtained the ID, go to "Settings > App Settings > Test Device" on the dashboard. Here you can enter the test device ID – this will set your device as a test device for your application. Please pick iOS for the platform.
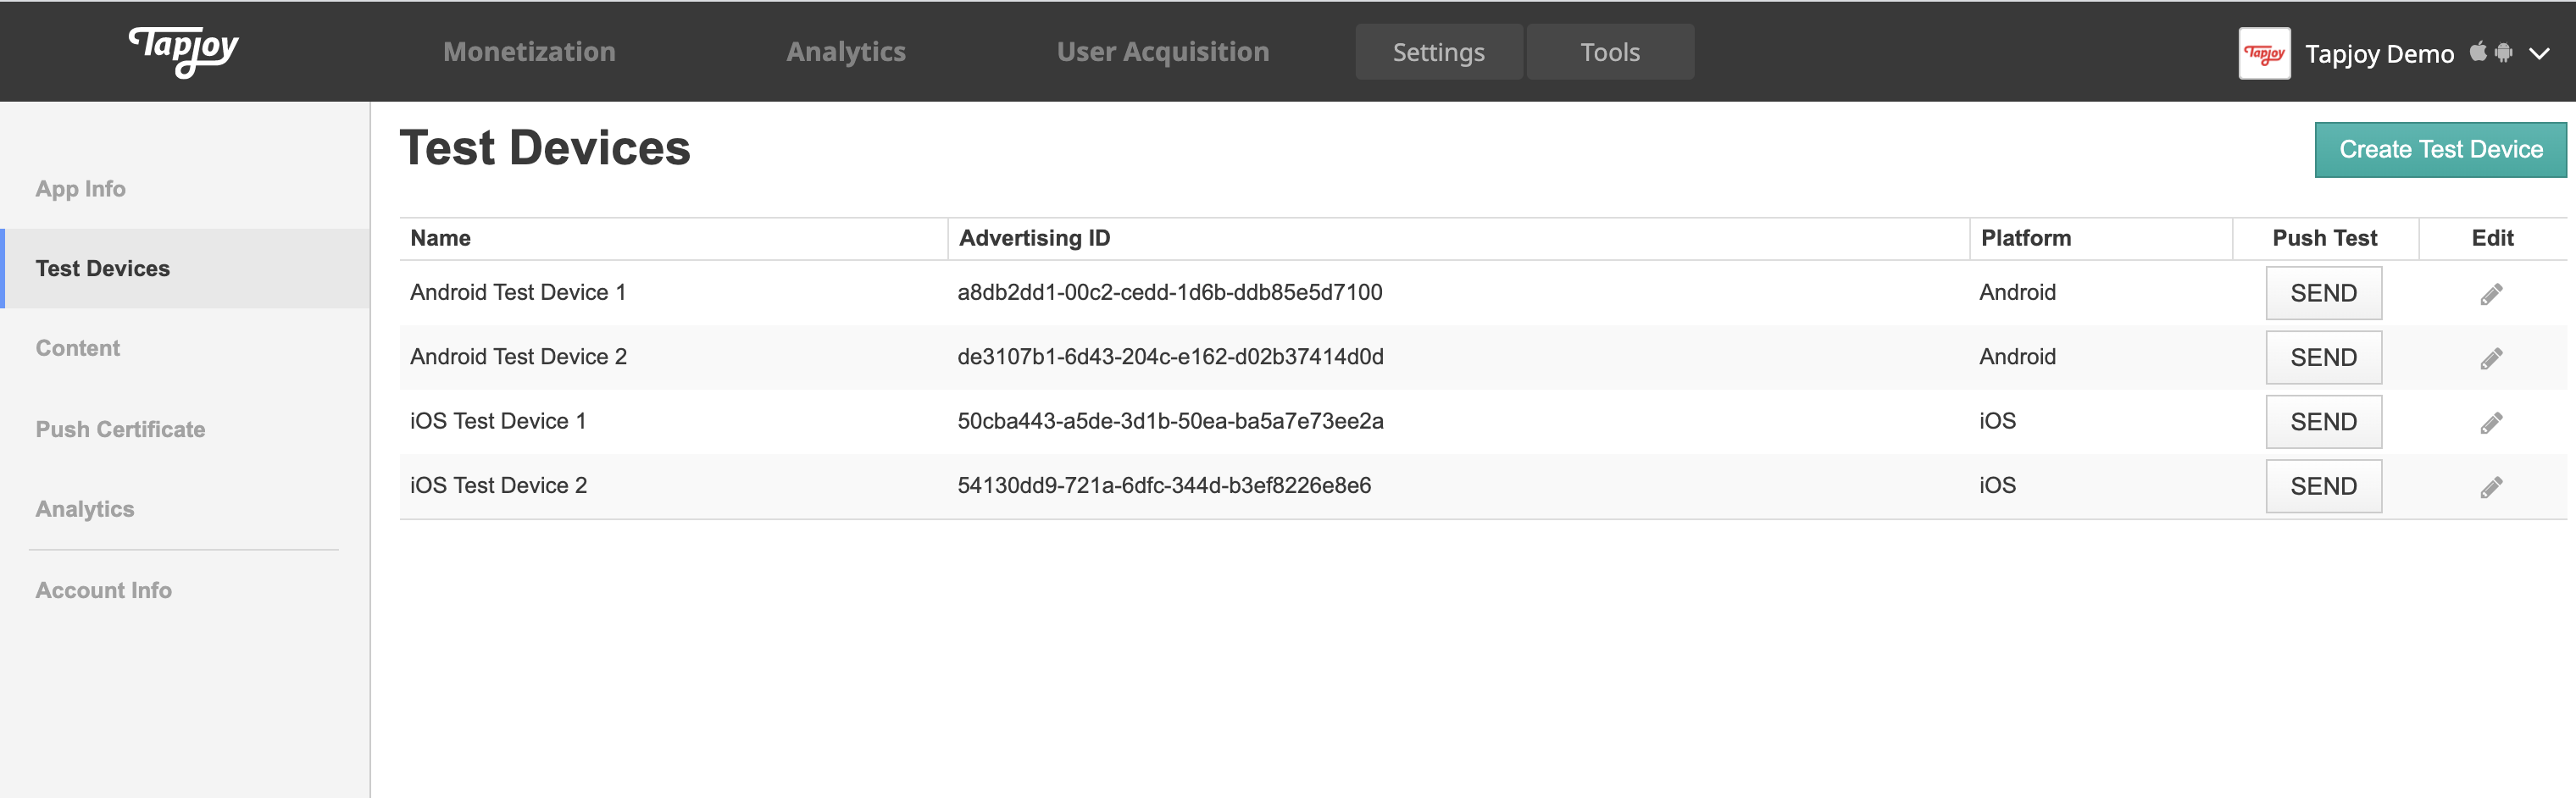
You can then use test device features. For example, content cards that have ‘Only for Test Devices’ enabled can only be viewed by test devices.

2. Test
Deeplink
Once you add your test device ID to the Tapjoy Dashboard, you can call Tapjoy Offerwall with test mode by adding the test_id parameter.
For example, if your test device value is 11111111-1111-1111-1111-111111111111, you can add the test_id parameter in your deeplink.
https://rewards.unity.com/owp/web/link/<SDK_KEY>/u/<USER_ID>?test_id=11111111-1111-1111-1111-111111111111
Custom JavaScript
If you are using Custom JavaScript, you can add the test_id parameter when your web app initialises the Tapjoy SDK.
<script>
  Tapjoy('init', {
    sdkKey: '<SDK_KEY>',
    publisherUserId: '<USER_ID>',
    eventName: '<PLACEMENT_NAME>',
    test_id : '11111111-1111-1111-1111-111111111111'   // Adding test_id parameter
  });
</script>

// Call Tapjoy Offerwall
<button onclick="javascript:Tapjoy('showOfferwall', {});">Click Me</button>
3. Important Notes
- Devices with invalid IDs, such as all 0’s, won’t be allowed.